Pumpkin Carving Tips and Tricks

This following tips and photography were provided by local blogger Abby Thome of The Thome Home.
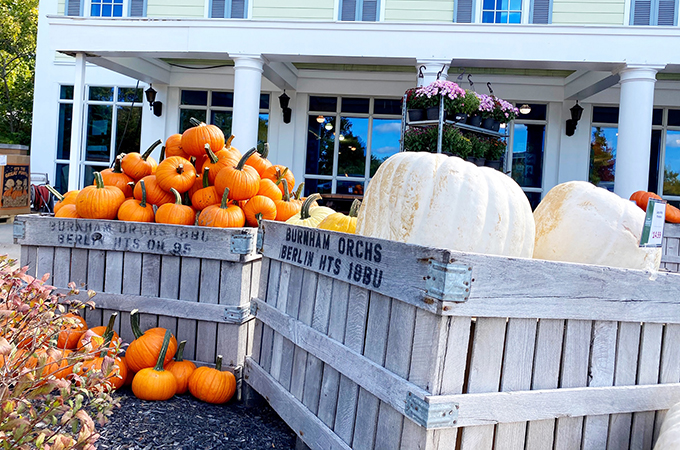
Its that time of year when we purchase a variety of pumpkins and spend hours at the kitchen table carving funny faces and spooky designs, only for a squirrel to gobble up our masterpieces the night they debut on the front porch. Lucky for you, I have a tip to help keep the critters away and prevent the dreaded pumpkin rot!
Protect Your Pumpkin
Rustoleum Clear Spray Paint is the one-trick-wonder to sealing your pumpkin for the fall season. Once your pumpkins are carved and ready to be displayed, simply spray Rustoleum’s Clear Paint all over your pumpkin to create a barrier against rot and pests. It’s that easy, but be sure use the spray outside in a well ventilated area!

Get Creative with Carving
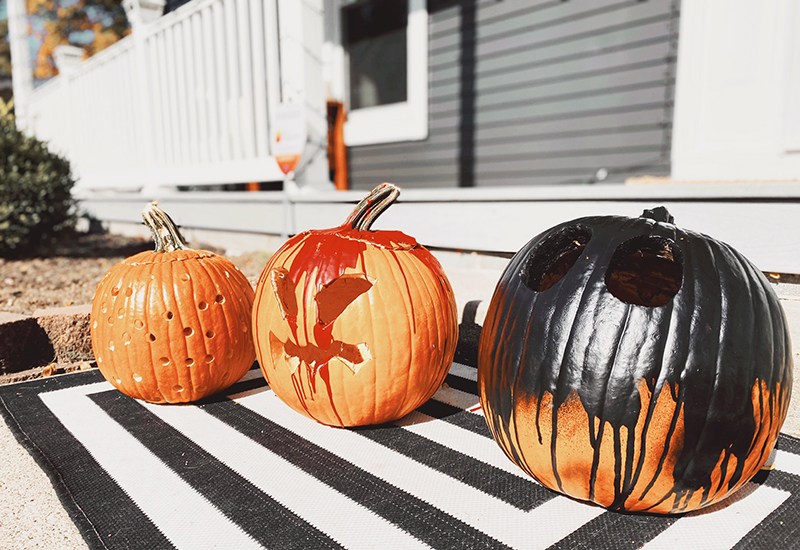
Looking for a few fun new ways to decorate your pumpkins? Look no further than an old box of crayons, your tool box and spray paint to create three totally different carvings with your family this year!
- Spray Paint
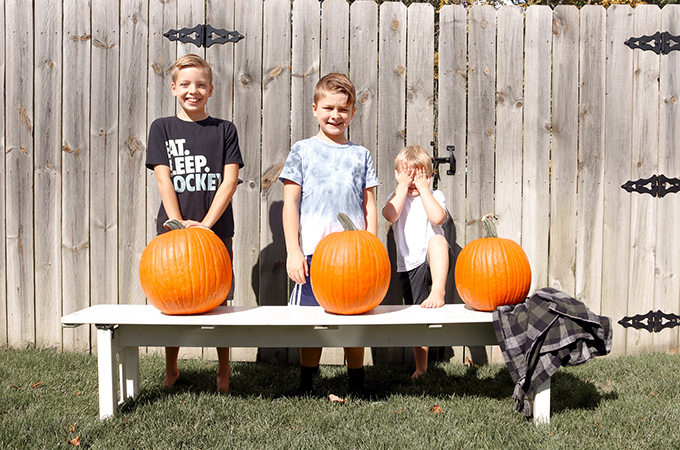
Once your pumpkin is carved, in a well ventilated area, use your imagination to create a colorful pumpkin masterpiece! My son chose to concentrate black spray paint towards the top of his pumpkin and let the residual paint drip down the pumpkin for a spooky effect! - Crayons
Grab those broken crayons, pull off the wrappers and toss them in a pot on the stove over low heat. Once melted, pour the mixture onto a pumpkin to give it a pop of color. Parental assistance recommended. - Screw Gun
Clean out your pumpkin and use a screw gun with a large drill bit to create holes all over the pumpkin. Once a candle is placed inside, it will light up the night sky like a lantern.
Once all of your creations are complete, do not forget to spray with Rustoleum Clear Spray to give your pumpkins a fighting chance this season. I promise, they’ll stand the test of time… and nature!


