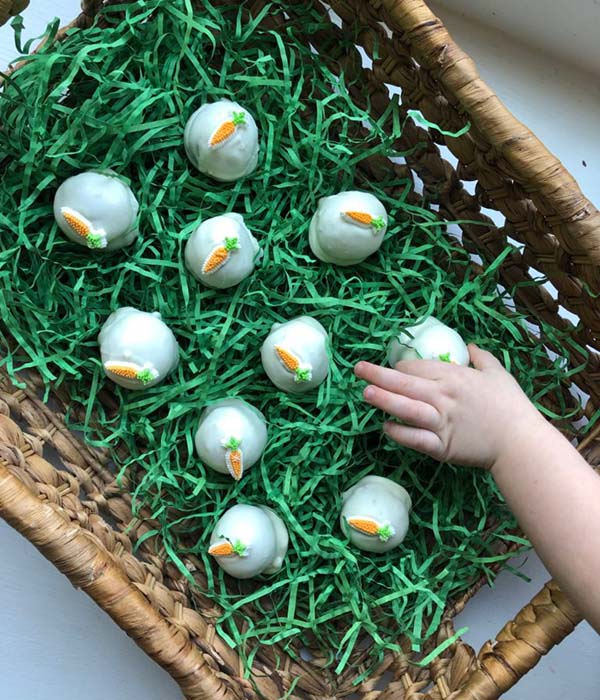
Easter Carrot Cake and Coconut Cake Bites
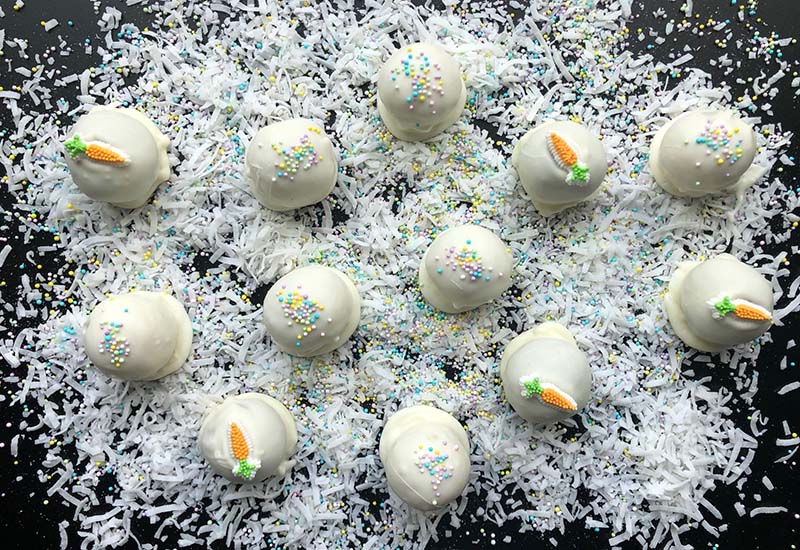
The recipes and photography for this post were provided by local blogger, Abby Thome of The Thome Home.
Still on the hunt for the perfect Easter dessert? Well, stop hopping around and plop that bunny tail right HERE right NOW! I’ve got a beautiful, bite-size sweet that will leave everyone in complete awe!
Cake balls are all the rage, they have been for almost two years now. You’ll find them at your local coffee shop, and they’ve become quite the popular treat for baby or bridal showers. Have you ever tried to make them on your own? Not the puffy cake only dipped in melted chocolate cake pops, but the decadent, rich cake pops that are so over-the-top you will never be the same!
Listen, I’m a firm believer that sometimes you have to make a few shortcuts in the kitchen. With this recipe, I chose to use canned frosting. Making both cakes from scratch, and decorating each little bite was plenty to take on. Making frosting would be great, but for this recipe, you do not need much, so why not make it easier for you? Do not feel guilty for making semi-homemade items. No bunny needs to know!
I whipped up two different recipes because how is a girl to choose between the two?!
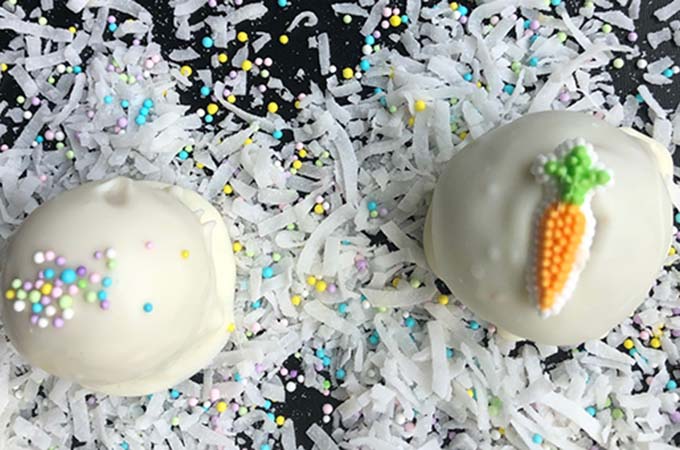
These little beauties are SO incredible you will be so happy you took the time to make them! And if you’re overwhelmed by the process, rest easy. You can make the cakes one day, the next day mix the crumbled cake with frosting + roll them out – put them in the fridge, covered with clear wrap, and then coat them in chocolate the following day.
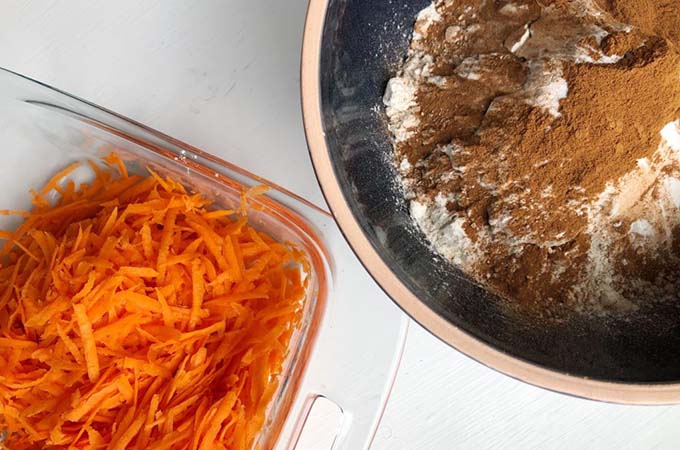
Let’s talk Carrot Cake Bites first!
These little babes are so delicious! Subtle spice, cream cheese frosting and rich cake – all mixed together to form, well, pure perfection!
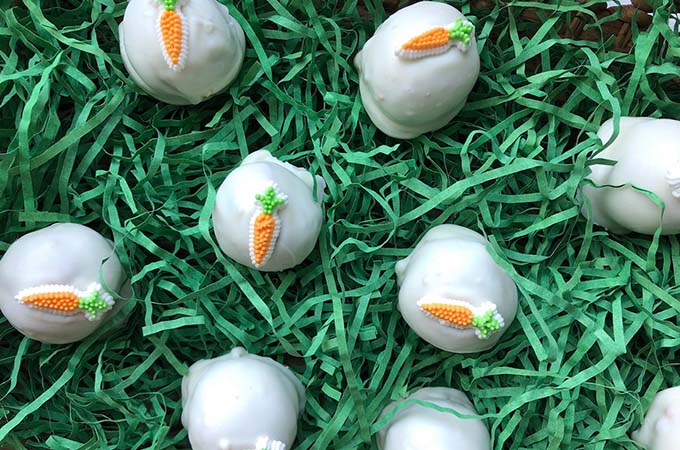
Carrot Cake Bites
Ingredients
- 2 1/2 cups of carrots
- 3 1/4 cup unbleached all-purpose flour
- 1 tsp. baking powder
- 2 tsp. baking soda
- 1 Tbsp. ground cinnamon
- 1 tsp. kosher salt
- 1 1/2 cup vegetable oil PLUS 2 Tablespoons
- 6 eggs
- 1 cup brown sugar
- 1 cup sugar
- 1 tsp. vanilla extract
- 1 tsp. maple syrup
Instructions
- Preheat the oven to 350° F.
- Line a 9×13 baking dish with parchment paper.
- In a separate bowl, grate 2 1/2 cups of carrots.
- In a large bowl whisk together unbleached all-purpose flour, baking powder, baking soda, ground cinnamon and kosher salt.
- Now let’s do the wet ingredients! In a separate bowl, whisk to combine 1 1/2 cup vegetable oil PLUS 2 Tablespoons,
eggs, brown sugar, sugar, vanilla extract, maple syrup. - Add the dry to the wet, with a handheld mixer, mix until fully incorporated.
- Stir in the 2 1/2 cups of grated carrots.
- Pour batter into baking dish, bake at 350° F for 35-45 minutes – or until a toothpick comes out clean/or with very little crumbs attached.
- Let the cake cool completely!
- Once cakes are cooled – removed entire cake from the pan by simply grabbing onto the parchment paper and lifting it out of the dish!
- Take a serrated knife, and cut all crust off from the cake (top/bottom/sides.) This will keep any of the dark/crusty bits out of the cake bites!
OKAY! Now we are going to talk about the recipe for the Coconut Cake. Because, once both of these cakes are cooled and ready to roll, the rest of the recipe/process is the same!
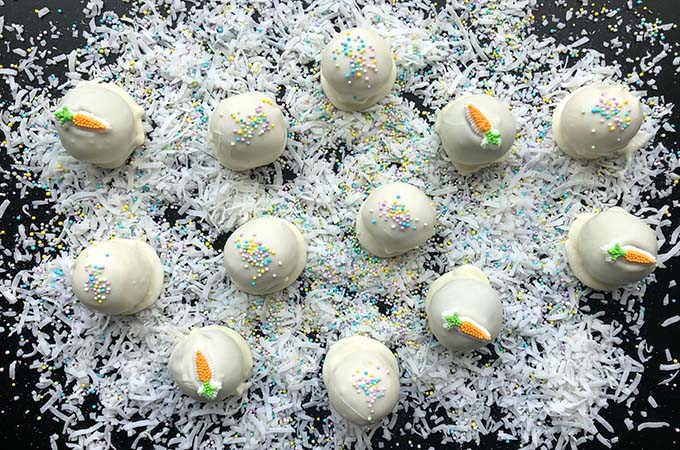
Coconut Cake Bites
Ingredients
- 3 cups unbleached all-purpose flour
- 2 tsp. baking powder
- 1 baking soda
- 1 tsp. salt
- 2 sticks of room temperature, unsalted butter
- 2 cups sugar
- 4 eggs
- 1 cup buttermilk
- 2 tsp. almond extract
- 2 tsp. vanilla extract
Instructions
- Pre-heat oven to 350° F.
- Line a 9×13 baking dish with parchment paper.
- In a large bowl, whisk together the unbleached all-purpose flour, baking powder, baking soda and salt.
- Now it is time for the wet ingredients! With a handheld mixer, one ingredient at a time – beat together room temperature, unsalted butter, sugar, eggs, buttermilk, almond extract and vanilla extract.
- Once wet ingredients are well mixed, pour in dry ingredients. Mix together until one flour is incorporated.
- You add coconut later in the recipe, so do not fret!
- Pour batter into baking dish and bake at 350° F for 35-45 minutes – or until toothpick comes out clean/or with very little crumbs attached!
- Let cake cool completely!
- Once cakes are cooled – removed entire cake from the pan by simply grabbing onto the parchment paper and lifting it out of the dish!
- Take a serrated knife, and cut all crust off from the cake (top/bottom/sides) This will keep any of the dark/crusty bits out of the cake bites.
Next up is the fun part: Balling, Frosting and Dunking.
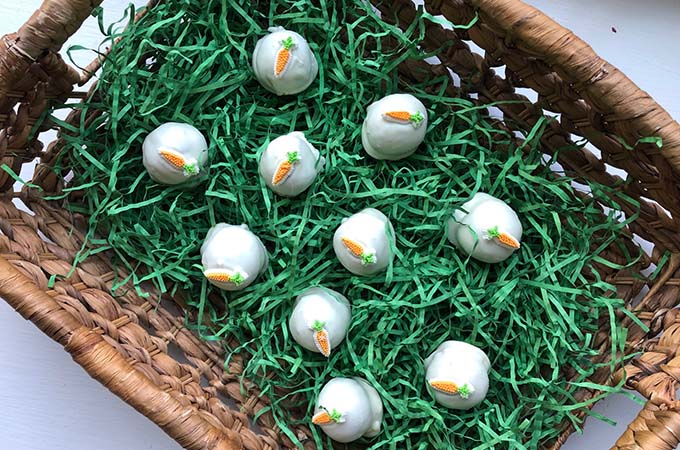
Balling
- Crumble each cake in two separate bowls
- ADD 1 can of cream cheese frosting to each bowl
- For the Coconut Cake: Add two cups of shredded coconut to the frosting/ cake before mixing.
- One at a time (Washing beaters in between!) mix together the cake and frosting, creating a thick and creamy cake mixture!
- Using a cookie scoop, scoop balls, and roll gently in your hands.
- Place formed cake balls onto a baking sheet lined with parchment paper –
- Once you have two pans, filled with each flavor, place them into the freezer or fridge for 10-15 minutes to set!
- I highly recommend only doing one sheet of cake bites at a time, so start with either coconut or carrot.
Frosting
- You’ll melt 2 bags of white chocolate chips in a glass bowl in the microwave. Do this in 30-second intervals, stirring in between each 30-second set. BE CAREFUL. White chocolate is very testy – you’ll want about 30% of the chocolate chips still intact while the rest is melted. THIS is the time to pull it out of the microwave and use the residual heat to melt the remaining chips!
Now We Dunk
- Take your cake balls, dunk into the melted white chocolate – use a fork to lift the ball out, and tap on the side of the bowl to let excess chocolate drizzle off. Use a knife to scrape the cake ball onto the lined baking sheet. While wet, top with sprinkle of choice!
- Repeat until all are done.
LESSON LEARNED: Once the chocolate has hardened (it only takes a few minutes!) break off any straggly bits on the bottom. Simply hold by the top, and only re-dip the bottoms of the chocolates to ensure the entire base is covered! This will keep the cake bites fresh when refrigerated for days, so you can make these in advance! So, don’t panic when your cake balls have sloppy bottoms after you the first scrape of the knife to get them off of the fork, dipping the bottoms a second time will make them look gorgeous!
Happy Easter from the Thome Home!
